Why Brick Walkways Shift and How Proper Installation Prevents It

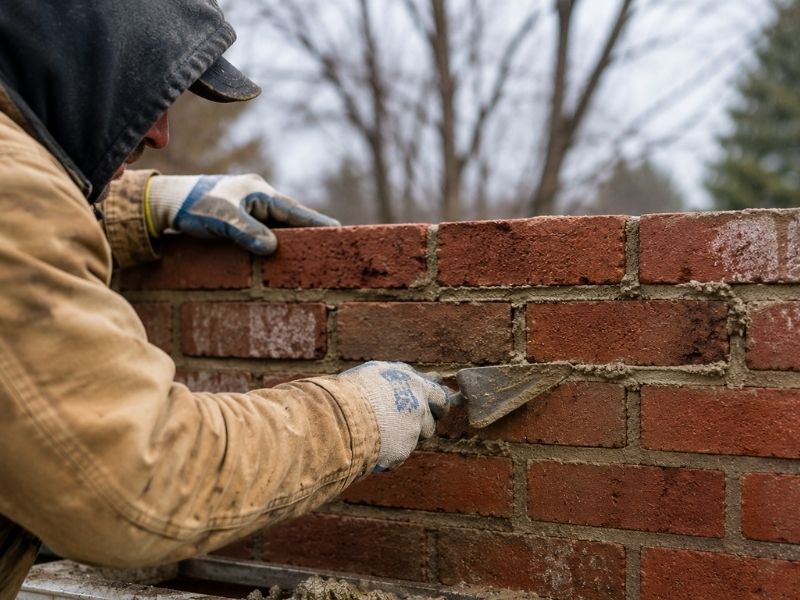
Mason installing a brick walkway in Fort Worth, Texas with a properly prepared gravel base to prevent shifting

A brick walkway that shifts and sinks a few years after installation is one of the most common complaints homeowners bring to a mason. The bricks themselves are rarely the problem. What sits underneath them almost always is.

Here is what most people do not realize. A brick walkway is only as stable as the ground it sits on. Skip the right prep work, and even the best bricks will heave, sink, or spread apart within a few seasons.

Brick walkways shift because of what happens below the surface, not because of the bricks themselves. Proper base prep and edge support are what keep a walkway flat and stable for years.

What Actually Causes a Brick Walkway to Shift

Most shifting problems trace back to the ground underneath the bricks, not the bricks on top. Once you understand what is happening below the surface, the fixes make a lot more sense.

Soil That Was Never Properly Compacted

If the soil under a walkway was not compacted before installation, it settles unevenly over time. Foot traffic and rain both push loose soil down at different rates in different spots. This creates the dips and humps that show up in older walkways.

Water Getting Trapped Underneath

Water that collects under a walkway instead of draining away causes the ground below to soften. Soft ground shifts easily under weight. Over time, this creates low spots where water keeps collecting, making the problem worse each season.

Clay Soil That Expands and Contracts

North Texas soil often has a high clay content, and clay reacts strongly to moisture changes. It expands when wet and shrinks when dry. A walkway built without accounting for this movement will crack, heave, or separate as the ground beneath it swells and shrinks throughout the year.

The Base Layer That Prevents Most Shifting Problems

The base layer under a brick walkway does more work than most people expect. Getting this step right prevents the majority of shifting issues before they start.

Why a Gravel Base Matters More Than the Bricks

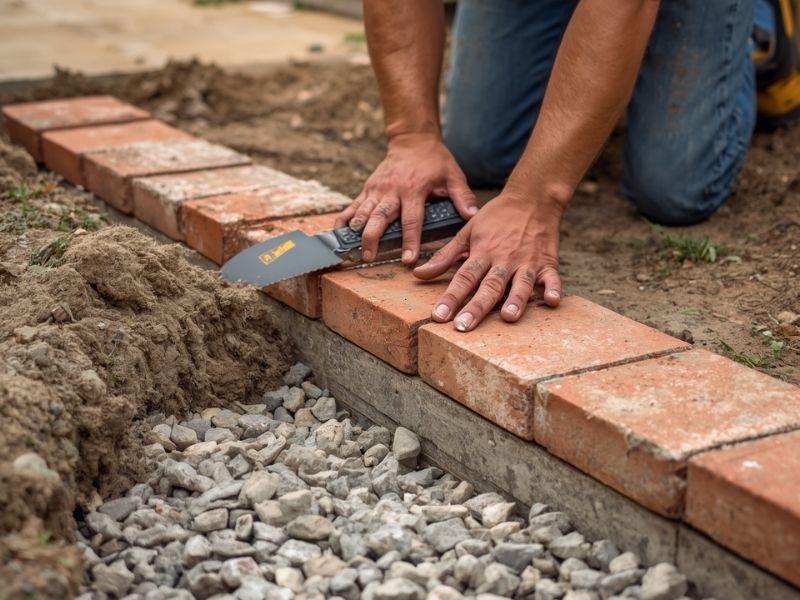
A properly compacted gravel base gives water somewhere to go instead of pooling under the bricks. It also creates a stable, even surface for the bricks to sit on, instead of resting directly on soil that will shift with the seasons.

How Deep the Base Needs to Be

A shallow base cannot handle the weight of foot traffic or the pressure from expanding clay soil. A base that is too thin will compact further over time, causing the bricks above it to sink unevenly.

Compacting the Base in Layers

Adding all the gravel at once and compacting it a single time often leaves weak spots buried inside the base. Compacting in layers, a few inches at a time, creates a denser and more even base overall.

Why Edge Restraints Keep a Walkway From Spreading

A walkway does not just sink. It can also spread outward at the edges over time, which throws off the pattern and creates gaps between bricks.

What Happens Without a Solid Edge

Without a rigid edge restraint, bricks along the border have nothing holding them in place. Foot traffic and soil movement slowly push them outward, which then creates gaps that widen across the whole walkway.

Metal or Plastic Edging Versus a Mortared Border

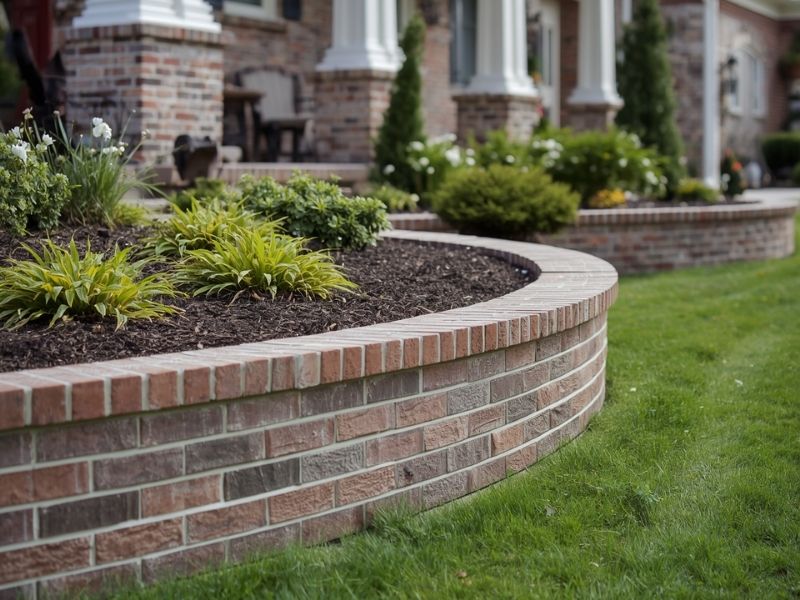
Rigid edging, whether metal, plastic, or a mortared brick border, locks the outer bricks in place. This keeps the entire pattern tight, even as the ground beneath continues to shift slightly with the seasons.

How Fort Worth Weather Adds to the Problem

Fort Worth sees hot, dry summers followed by periods of heavy rain, and this swing puts extra stress on any hardscape project.

Long Dry Spells Followed by Heavy Rain

Extended dry periods shrink clay soil, leaving small gaps underneath a walkway. When heavy rain follows, water fills those gaps and the soil expands again. This repeated cycle of shrinking and swelling is one of the biggest reasons walkways installed without proper prep fail within just a few years.

Occasional Freeze and Thaw Damage

While freezing weather is less frequent in Fort Worth than farther north, a handful of hard freezes each winter can still cause moisture trapped in the base to expand and contract. Over several years, this adds up and contributes to slow shifting.

Questions to Ask Before Installing a Brick Walkway

A few direct questions before construction starts can save a lot of frustration later.

  • How deep will the gravel base be, and will it be compacted in layers?
  • What type of edge restraint will be used to keep the border bricks in place?
  • Has the soil type on this property been considered when planning the base depth?
  • Is there a plan for water drainage away from the walkway, not just under it?

Clear answers to these questions before the project starts help avoid a walkway that needs to be redone within a few years.

Frequently Asked Questions 

Why Do Brick Walkways Shift Even When the Bricks Are High Quality?

Brick quality is rarely the main cause of shifting. Movement usually happens because of issues underneath the surface, such as poor base preparation, drainage problems, or soil movement.

How Deep Should the Base Material Be Under a Brick Walkway?

The required base depth depends on soil conditions, walkway use, and site requirements. A properly prepared base helps prevent settling, sinking, and uneven surfaces over time.

Why Does Clay Soil Create Problems for Brick Walkways?

Clay soil expands when wet and contracts when dry. These repeated changes can move the materials above it, causing bricks to shift, rise, crack, or settle unevenly without proper installation methods.

What Is an Edge Restraint and Why Is It Important for Brick Walkways?

An edge restraint keeps the outer bricks secured and prevents the walkway from spreading outward over time. Without proper edging, gaps can develop and the walkway can lose its original shape.

Does Fort Worth Weather Affect the Stability of Brick Walkways?

Yes. Temperature changes, dry periods, and heavy rainfall can affect the soil beneath a walkway. Proper drainage and base preparation help reduce movement caused by changing weather conditions.

Brick mason Tips for Blending New and Old Brick

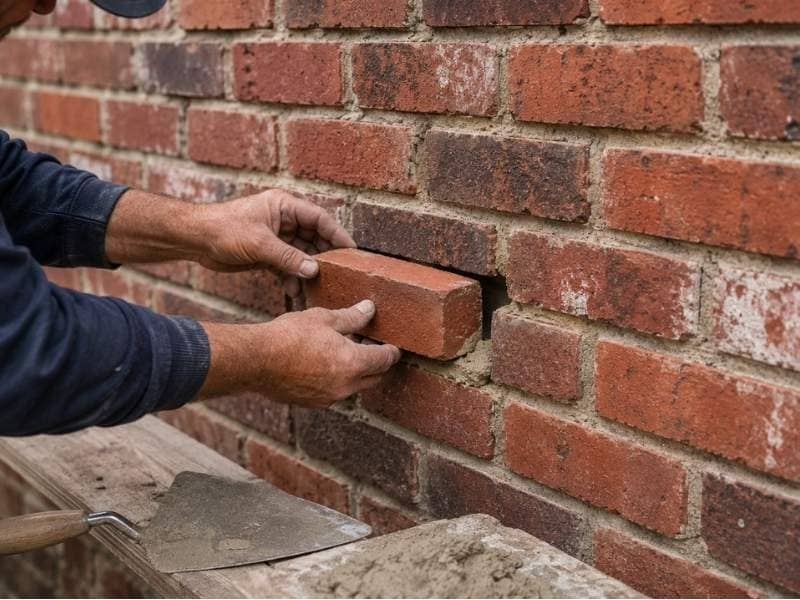
Brickmason replacing a damaged brick while matching new brick and mortar with an existing brick wall for a seamless masonry repair.

Replacing damaged brick sounds straightforward until the new brick goes in and stands out like a fresh patch on an old wall. The color is brighter, the texture looks different, and the repair draws more attention than the damage did. A skilled brick mason knows this going in and works around it. Blending new brick with old takes careful material selection, matched mortar, consistent pattern work, and a realistic understanding of how brick changes over time.

The Brick Industry Association estimates that poorly matched brick repairs are one of the most common complaints homeowners raise after masonry work is completed. Getting the match right from the start saves time, money, and the frustration of a repair that looks worse than the original problem.

Find Brick That Looks Similar

The first challenge is finding a brick that comes close to what’s already on the wall. Brick manufacturers change their formulas over time, and many older brick types are no longer in production. A brickmason starts by examining the existing brick carefully, looking at color, size, surface texture, and how much variation exists across the wall.

Most older brick walls have natural variation. Some bricks are darker, some lighter, and the surface texture shifts slightly from one brick to the next. That variation actually helps a repair because the goal isn’t to copy one brick exactly. It’s to find new brick that falls within the range of colors and textures already present on the wall.

Salvaged brick is worth considering for older homes. Reclaimed material from the same era often carries the weathering and color tone that new brick simply doesn’t have yet.

Use the Right Mortar Color

Mortar covers roughly 15 to 20 percent of any wall face on a standard running bond pattern. A mortar color that doesn’t match the existing joints makes a repair visible from across the street, even when the brick itself is a reasonable match.

Mortar comes in a range of pre-mixed colors, and a brickmason can blend pigments to get closer to an existing joint color. Matching works best on a dry wall in natural daylight. Mortar looks different when wet, and artificial lighting changes how the color reads against surrounding brick.

Mortar strength matters too. Older homes were often built with softer lime-based mortar. Using harder Portland cement mortar on an older wall can cause surrounding brick to crack over time because the two materials expand and contract at different rates. A brickmason selects mortar strength appropriate for the age and condition of the existing wall.

Follow the Same Brick Pattern

Brick walls are laid in specific patterns called bonds. The most common is running bond, where each brick is offset by half a length from the row above and below. Placing new brick in a different pattern breaks the wall’s visual rhythm immediately, even when the brick and mortar colors are close.

A brickmason studies the existing bond before removing any damaged brick and replicates it exactly in the repair area. Joint width is part of the pattern too. If existing joints are three-eighths of an inch wide, new joints should match that width. Wider or narrower joints change the visual spacing of the wall and make the repaired section look out of place.

Give New Brick Time to Blend In

New brick is brighter, cleaner, and more uniform than brick exposed to sun, rain, and temperature changes for years. That difference is normal. It doesn’t mean the repair was done poorly.

Brick weathers gradually. UV exposure fades the surface color. Mineral deposits from rainwater create subtle tone variations. Most new brick repairs become noticeably less visible within one to three years as natural weathering brings the new material closer to the surrounding wall.

Some masons apply a diluted acid wash to new brick to speed up the blending process. It removes some surface brightness and opens the texture slightly so the brick weathers faster. Not every repair needs it, but it’s a useful option when the color difference is significant.

Check the Finished Repair

A completed repair should hold up to close inspection. Check that joint lines are consistent and follow the same horizontal and vertical alignment as the surrounding wall. Joints should be smooth and fully filled with no gaps or crumbling edges. Each new brick face should sit flush with the existing wall surface, not pushed in or protruding out. Any mortar smeared onto the brick face during installation should be cleaned off completely.

Step back roughly 10 to 15 feet and look at the repair from a normal viewing distance. The eye picks up inconsistencies in line and color naturally at that range. If something looks off, it’s worth addressing before the job is considered done.

Frequently Asked Questions

Why doesn’t new brick match old brick right away? 

New brick hasn’t been exposed to weather, sunlight, or environmental buildup yet. Old brick develops its color and texture gradually over years of exposure. The difference is normal and typically fades within one to three years as the new brick weathers.

Can faded brick be matched? 

Getting close is possible, but an exact match is rarely achievable. A brickmason looks for brick that falls within the range of tones already on the wall. Salvaged brick from a similar era often provides the closest match for older homes.

Does mortar change color over time?

Yes. Fresh mortar is lighter and more uniform than aged mortar. It darkens slightly as it cures and continues shifting in tone as it absorbs moisture over time. A brickmason accounts for this when selecting mortar color, choosing a shade that will age toward the existing joint color.

How can I tell if a brick repair was done well?

Look for consistent joint width and alignment, fully filled joints with no gaps, brick faces flush with the surrounding wall, and a clean surface free of mortar smears. Step back to about 10 to 15 feet and check whether the repair blends into the wall or draws the eye.

Can one damaged brick be replaced?

Yes. The damaged brick is carefully cut out without disturbing the surrounding ones, the cavity is cleaned, and a matching replacement is set with fresh mortar. Done correctly, a single brick replacement is clean, stable, and barely noticeable once the mortar cures.