
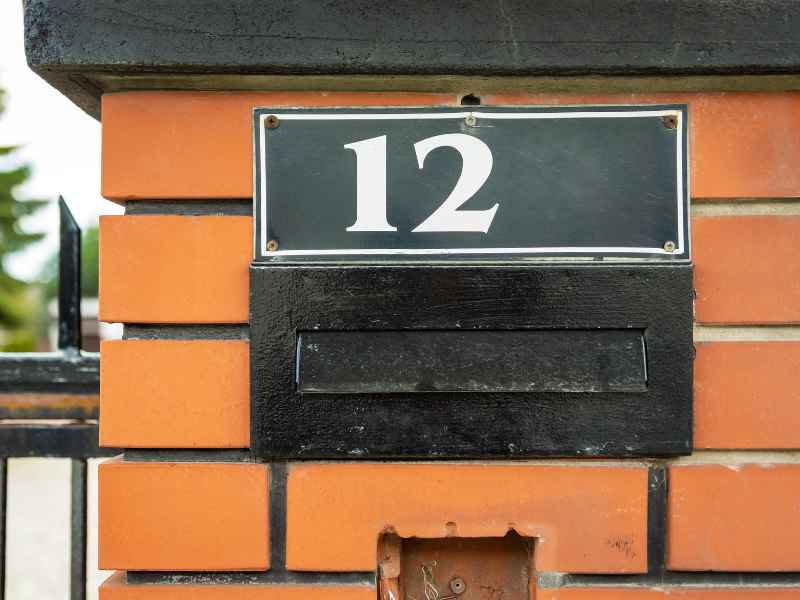
Mailbox repairs often start with something small, like a cracked address panel or numbers worn down so far nobody can read them from the street. It seems like a quick swap. Then the old panel comes out, and the brick around it is cracked, the mortar is crumbling, and the opening is a different size than the new panel.
The address panel is usually the focal point of a brick or stone mailbox. It’s also the part delivery drivers and emergency crews rely on to find your home. Check the masonry around it first, pick a panel that will hold up, and set it carefully so the repair blends in and lasts.
Signs a Damaged Address Panel Needs Mailbox Repairs
Some damage is easy to spot. Cracks, chips, and broken corners show up right away, especially after a car or mower clips the mailbox. Other signs build slowly over the years.
Look for these problems:
- Numbers that are faded, chipped, or hard to read from the road
- A panel that’s loose, tilted, or sunk into the opening
- Gaps or crumbling mortar around the panel edges
- Water stains or white residue, called efflorescence, below the panel
- Hairline cracks spreading from the panel into nearby brick
A loose panel can fall out and break. Gaps around it let water into the column. Both are reasons to plan repairs sooner rather than later.
Assessing the Surrounding Brickwork Before Mailbox Repairs
The panel sits inside the masonry, so the brick around it matters just as much. A mason should check the mortar joints, nearby bricks, and the column itself before removing anything. Damage around the panel often points to a bigger problem.
Look for cracks that run through several courses of brick. Check whether the column leans or has shifted at the base. Soil movement, a weak footing, or an old vehicle strike can all cause the column to move, and a new panel won’t fix that.
Matching is another concern. If nearby bricks need replacing, the mason will look for brick and mortar that match the color and texture of the original. Older brick may be hard to find, so ask about blending options before work begins.
Choosing Durable Panel Materials for Mailbox Repairs
Address panels come in several materials. Cast stone is common and can be made in custom sizes with engraved numbers. Natural stone, like limestone or granite, is another choice and often matches stone masonry on the home.
Metal plaques are a third option. They’re lighter, come in many styles, and attach to the masonry with anchors. Ceramic or tile panels can work too, but some are more likely to chip or crack outdoors.
Readability matters. Choose numbers large enough and with enough contrast to read from the street, day and night. Some communities have rules about how house numbers must look, so check with your HOA or local office before you order a custom panel.
Size the new panel to the opening when you can. A panel that fits the existing space cuts down on brick cutting and patching.
Installing a New Address Panel Without Damaging Existing Masonry
Removing the old panel is the riskiest step. The mason cuts the mortar joints around it carefully so the surrounding brick doesn’t chip or crack. Rushing this part with the wrong tool is how small mailbox repairs turn into big ones.
The opening is cleaned and checked before the new panel goes in. The panel is set in a full bed of mortar, leveled, and centered. Joint width and mortar color should match the rest of the mailbox so the repair blends in.
For metal plaques, anchors are often set into mortar joints instead of the brick face. That makes future removal easier and avoids cracking brick. Use stainless or other rust-resistant hardware so stains don’t run down the masonry later.
Let the mortar cure before anyone cleans or seals the area. Your mason can tell you how long to wait based on the weather and materials.
Protecting Mailbox Repairs From Moisture and Future Damage
Water is the main threat to a masonry mailbox. It soaks in through the top, runs down the face, and gets into gaps around the panel. A solid cap with an overhang helps water drip clear of the brick instead of running down the front.
Check where sprinklers hit. A mailbox sprayed every morning stays damp and stains faster. Adjust heads so they water the lawn, not the brick masonry.
The ground around the base matters too. Slope soil or brick pavers away from the column so water doesn’t pool at the bottom. Some owners also add a breathable water repellent after repairs, but ask your mason first since some sealers can trap moisture.
Placement affects damage risk. Mailboxes near tight curves or narrow drives get hit more often. If yours has been struck before, ask about moving it back slightly during the repair.
Frequently Asked Questions
Can I replace a mailbox address panel myself?
It’s possible, but removing the old panel without damaging nearby brick takes skill. Cutting mortar joints too fast can crack bricks. Setting the new panel level and matching mortar color also takes practice. A mason can usually do it cleanly and quickly.
How long does an address panel replacement take?
The repair itself often takes a few hours. A custom engraved panel may take time to order first. Mortar needs time to cure after installation. Ask your mason for a timeline before you schedule.
Can a new panel match my old one?
Often it can come close. Cast stone and engraved panels can be made in similar sizes and colors. Exact matches can be hard with older materials. Bring photos or measurements to your mason so they can find the best option.
