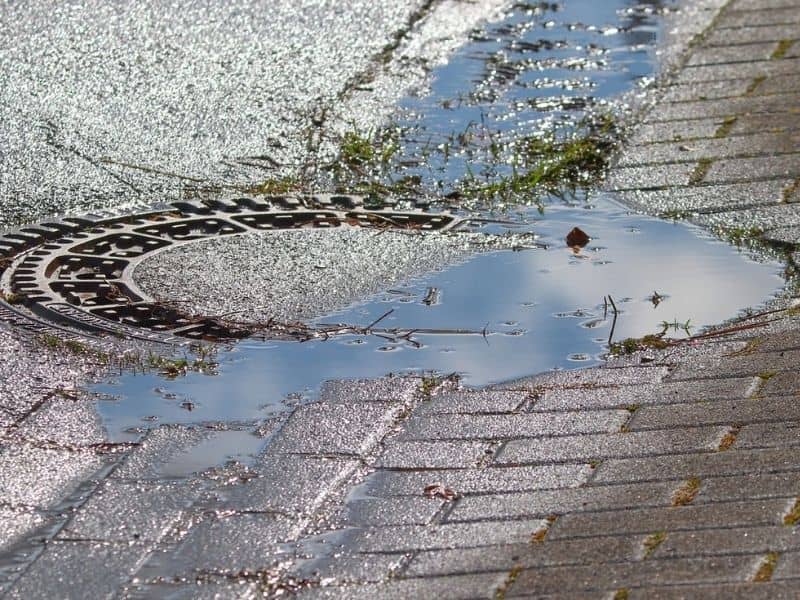
A roof sheds a huge amount of water every time it rains, and every drop funnels down to just a few spots. That’s what a downspout does. It takes water collected across the whole roof and pours it out in one narrow stream at ground level. When brick pavers sit right where that stream lands, they need somewhere for the water to go. A patio or walkway that looks great in dry weather can turn into a soggy problem the first time it gets a hard rain, and the fix almost always comes down to one thing: giving that water a clear path away from the house.
Track Roof Runoff From Downspout to Final Discharge
Before you plan anything with brick pavers, walk the path the water actually takes. Start at the gutter, follow it down the downspout, and keep going until you reach the spot where the water finally soaks into the ground or reaches a storm drain. That endpoint matters as much as the downspout itself.
Too many paver projects only look at the patch of ground right under the downspout. They fix that one spot and ignore everything past it. If the water still has nowhere to go twenty feet later, you’ve just moved the puddle instead of solving it. Map the whole route first, from roof to final discharge, then figure out where the pavers fit into that route without blocking it.
Keep Downspout Outlets From Emptying Into Paver Joints
The exact spot where a downspout empties out matters more than most homeowners realize. If that outlet sits right above the joints between brick pavers, you’re asking those joints to absorb a concentrated stream of water every time it rains.
Paver joints are usually filled with sand or fine jointing material, and that material washes out fast under repeated direct flow. Once the joint sand disappears, the base underneath starts to erode too. Pavers begin to rock, sink, or shift out of line, and what started as a drainage problem turns into a structural one. The fix is simple in concept: give the downspout a deliberate route away from the pavers instead of letting it dump straight onto one small section, over and over, storm after storm.
Coordinate Brick Pavers With Downspout Extensions and Drain Inlets
There’s more than one way to move water past a paved area, and the right choice depends on the site. Some setups use an above-ground extension, like a rigid pipe or splash block, that carries water a few extra feet before it reaches the pavers. Others run a buried pipe underneath the paved surface and pop out somewhere past it, so the connection stays hidden and the surface stays clean.
A third option ties the downspout into a drain inlet or catch basin built right into the paver layout. That inlet collects the water and routes it into an underground pipe instead of letting it spread across the surface. Any of these can work well. What matters is picking the layout before the pavers go in, not trying to squeeze a solution in afterward.
Preserve the Drainage Route When Brick Pavers Are Installed
Once the drainage plan is set, the installation itself has to protect it. This is where a lot of well-planned drainage gets ruined by accident. A crew digging out the base for new pavers can easily cut through a buried extension pipe without realizing it’s there, or grade the sub-base so it slopes the wrong way and sends water back toward the house instead of away from it.
Mark every existing downspout line and buried connection before excavation starts. Keep any pipe joints and outlets accessible rather than burying them under a solid run of pavers with no way to reach them later. And check the finished grade with a level, not just by eye, since even a small reverse slope can undo the entire drainage plan. Getting this step right during installation saves a lot of digging later.
Recheck Downspout Discharge After Heavy Rain
The real test of any drainage plan comes during and after an actual storm, when the system gets plenty of hard, fast rain to put that plan to work. Walk the discharge point once the rain lets up and look closely at what happened. A drainage path that works on paper doesn’t always hold up once the water is actually flowing.
Watch for these signs that something isn’t draining the way it should:
- Water pooling or backing up right at the downspout outlet
- A wet trail crossing pavers in a direction it shouldn’t be going
- Standing water lingering where the downspout meets the paving, long after the rain stops
- Soil or mulch washed onto the paver surface near the outlet
- Pavers that feel soft, loose, or slightly sunken near the discharge point
Catching these signs early means a small adjustment, like repositioning an extension or clearing a blocked inlet, instead of a bigger repair down the road.
